DIY Vaping 101: A Beginner’s Guide to Crafting Your Vape
DIY vaping is becoming increasingly popular among smokers who want to quit smoking and switch to vaping. Vaping is a healthier alternative to smoking and has been endorsed by Public Health England as being 95% safer than smoking. It’s no surprise that more and more people are turning to vaping to quit smoking.
Understanding the Basics of Vaping is essential for beginners.
Vaping involves inhaling vapor produced by an e-cigarette or vaporiser. Unlike smoking, vaping doesn’t involve combustion, which means no smoke and no tar. E-cigarettes work by heating a liquid called e-liquid, which contains nicotine, flavourings, and other additives. The liquid is then turned into vapour, which is inhaled by the user.
Contents
Key Takeaways
- DIY vaping is a healthier alternative to smoking and has been endorsed by Public Health England as being 95% safer than smoking.
- Understanding the Basics of Vaping is essential for beginners.
- Creating Your First E-Liquid is a fun and rewarding experience that can save you money in the long run.
Understanding the Basics of Vaping
Vaping has become increasingly popular over the years as a less harmful alternative to smoking. It involves inhaling vapour produced by a vaping device, also known as an e-cigarette, which heats up an e-liquid or vape juice.
What Is Vaping?
Vaping is the act of inhaling vapour produced by a vaping device. The vapour is produced by heating up an e-liquid or vape juice, which typically contains a mixture of propylene glycol, vegetable glycerin, flavourings and sometimes nicotine.
Components of a Vaping Device
A vaping device typically consists of a tank, a coil, a battery and a mod. The tank holds the e-liquid, while the coil heats up the e-liquid and turns it into vapour. The battery provides power to the device, while the mod controls the temperature and wattage of the device.
Types of Vaping Devices
There are various types of vaping devices available on the market, including
-
Pod systems: These are compact devices that use pre-filled pods or refillable pods to hold the e-liquid. They are easy to use and require minimal maintenance.
-
Starter kits: These are complete kits that include everything you need to start vaping, including the device, tank, coils, battery and charger.
-
Sub Ohm Kits: These are more advanced devices that allow for more customisation. They come in various shapes and sizes and can be used with different types of tanks and coils.
-
Disposables: These are pre-filled devices that are meant to be used until completion, and then discarded. They are convenient and require no maintenance.
Overall, understanding the basics of vaping is essential for anyone looking to start vaping. With so many different types of devices available, it’s important to choose one that suits your needs and experience level. Whether you’re a beginner or an experienced vaper, there is a device out there that is perfect for you.
DIY Vaping Essentials
Introduction to DIY E-Liquid
DIY e-liquid is a popular option for vapers who want to customise the flavour, nicotine strength and VG/PG ratio of their e-liquid. Making your own e-liquid can be a fun and rewarding experience, but it’s important to understand the basics before getting started.
The base liquid of e-liquid is typically a combination of propylene glycol (PG) and vegetable glycerine (VG). PG is a flavour carrier and provides a throat hit, while VG is responsible for producing vapour. Nicotine and flavouring are added to the base liquid to create the final product.
Safety and Preparation
Before making your own e-liquid, it’s important to take safety precautions. Wear protective gloves and eyewear, and work in a clean and well-ventilated area. Keep your work area free of any distractions and away from children and pets.
It’s also important to label your e-liquid bottles with the flavour, nicotine strength and date of creation. This will help you keep track of your creations and avoid any confusion.
Tools and Supplies Needed
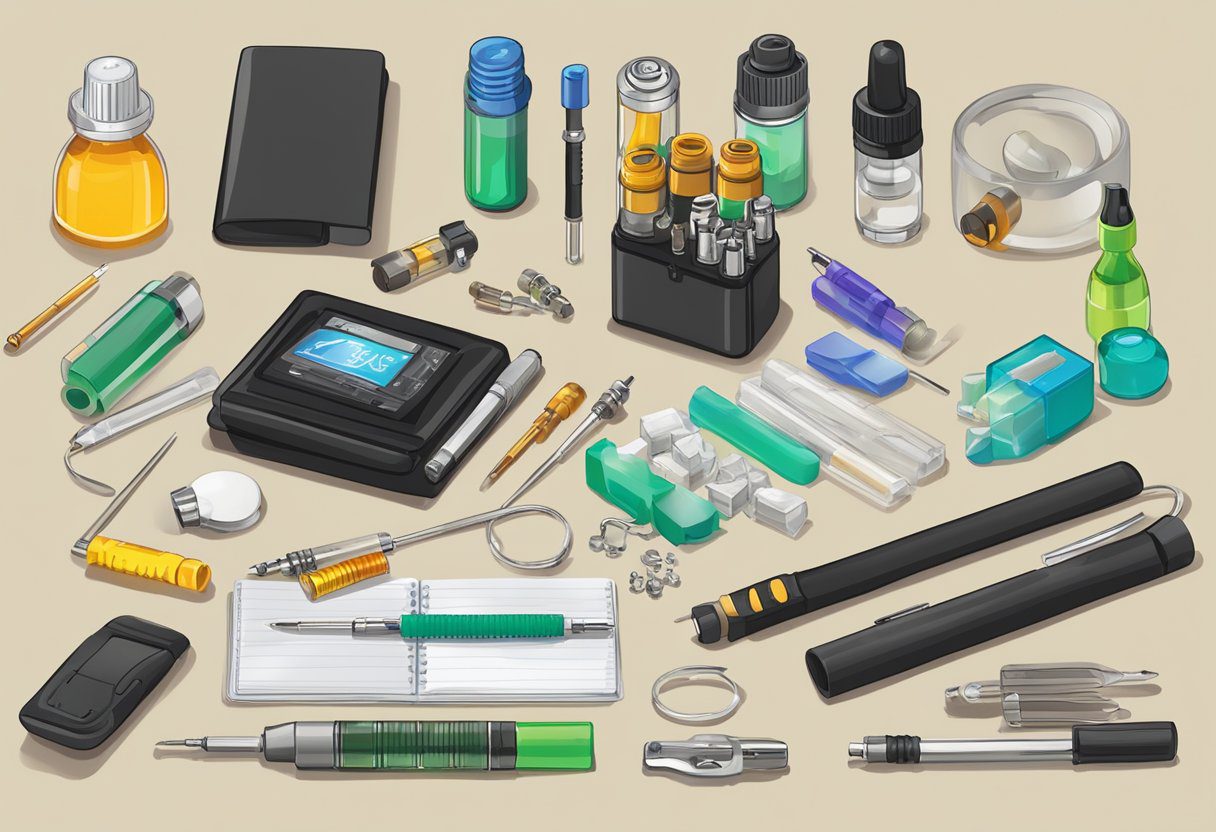
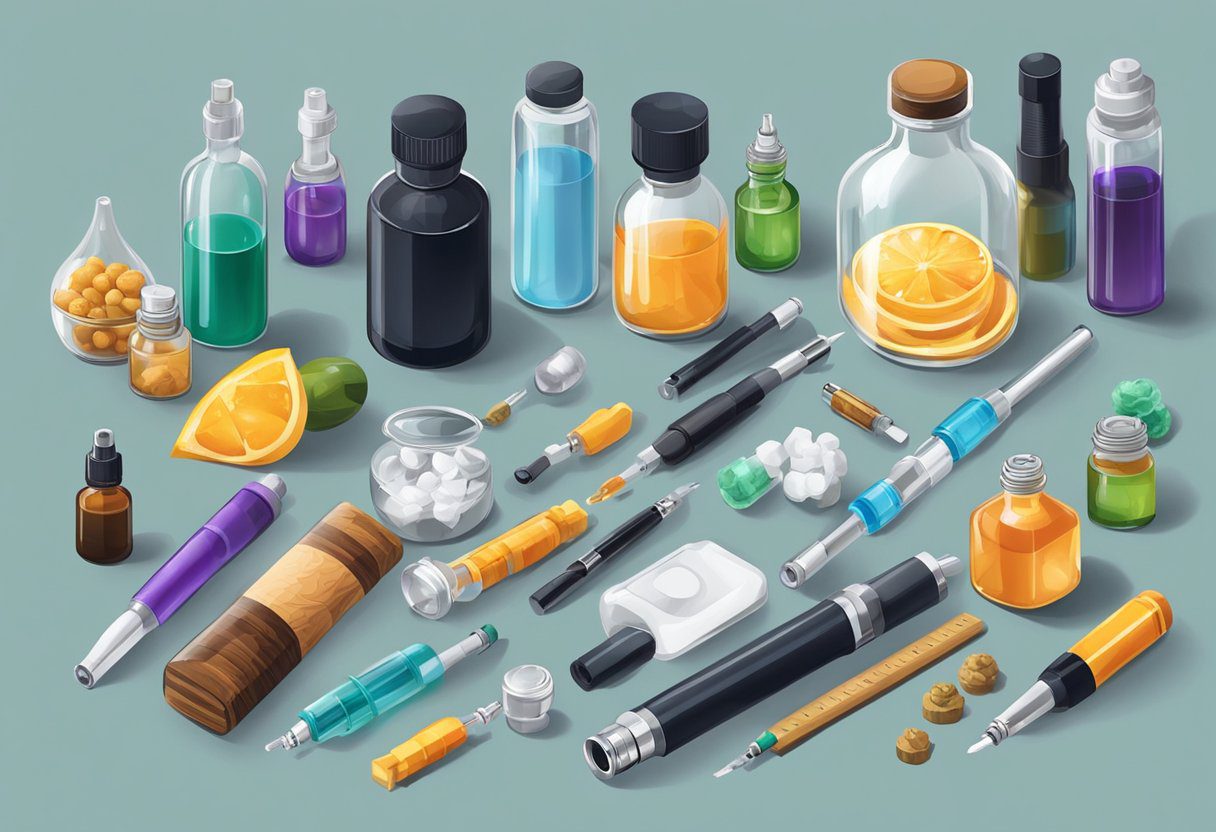
To make your own e-liquid, you will need a few basic tools and supplies. These include:
- Syringes: to measure the ingredients accurately
- Mixing bottles: to mix and store your e-liquid
- Nicotine: either freebase nicotine or nicotine salt
- Flavouring: choose from a wide variety of flavourings
- Base liquid: a combination of PG and VG
- Labels: to keep track of your creations
It’s important to use high-quality ingredients to ensure the best possible flavour and vaping experience. Always follow recipes and measurements carefully to avoid any mistakes.
Overall, making your own e-liquid can be a fun and rewarding experience. By following basic safety precautions and using high-quality ingredients, you can create custom e-liquids that suit your preferences.
Creating Your First E-Liquid
If you are new to DIY vaping, creating your own e-liquid can seem like a daunting task. However, with a little knowledge and the right ingredients, it can be a fun and rewarding experience. In this section, we will guide you through the process of creating your first e-liquid.
Selecting Your Ingredients
Before you begin mixing your e-liquid, you need to select your ingredients. The main ingredients in e-liquid are Propylene Glycol (PG), Vegetable Glycerine (VG), and nicotine. PG and VG are used to create the base of the e-liquid, while nicotine and flavourings are added to create the desired strength and flavour.
When selecting your ingredients, consider the nicotine strength you want to use. Nicotine strength is measured in milligrams per millilitre (mg/ml), and the most common strengths are 3mg/ml, 6mg/ml, and 12mg/ml. You will also need to choose between a PG or VG base, or a combination of both. PG is thinner and produces less vapour, while VG is thicker and produces more vapour.
Mixing Ratios and Calculations
Once you have selected your ingredients, you will need to determine the mixing ratios and calculate the amount of each ingredient you need. The mixing ratio refers to the ratio of PG, VG, and nicotine in the e-liquid. A common mixing ratio is 50/50 PG/VG, but you can adjust the ratio to suit your preferences.
To calculate the amount of each ingredient you need, you can use an online e-liquid calculator. Simply enter the desired nicotine strength, mixing ratio, and the total amount of e-liquid you want to make, and the calculator will provide you with the required amounts of each ingredient.
Step-by-Step Mixing Process
Once you have your ingredients and calculations, it is time to mix your e-liquid. Follow these steps to create your first e-liquid:
- Put on gloves and protective eyewear.
- Measure the required amount of PG, VG, and nicotine using a syringe or pipette.
- Add the PG and VG to a clean mixing container.
- Add the nicotine to the PG/VG mixture and stir well.
- Add flavourings to the mixture and stir well.
- Allow the mixture to steep for a few days, shaking it daily.
- After steeping, test the e-liquid and adjust the flavour or nicotine strength as needed.
Creating your own e-liquid can be a fun and rewarding experience. By selecting the right ingredients, calculating the mixing ratios, and following the step-by-step mixing process, you can create your own unique e-liquid that suits your preferences.
Flavouring and Nicotine
When it comes to DIY vaping, flavouring and nicotine are two of the most important components. Let’s take a closer look at each of them.
Choosing Flavours
One of the most exciting aspects of DIY vaping is the ability to create your own unique flavours. There are a wide variety of flavour concentrates available, from fruity to sweet to savoury. It’s important to choose high-quality, food-grade flavourings that are specifically designed for vaping.
When selecting flavours, it’s important to keep in mind that some flavours can be overpowering, while others may be too subtle. It’s best to start with a small amount of flavour concentrate and gradually increase the amount until the desired flavour is achieved.
Understanding Nicotine Varieties
Nicotine is a key component of e-liquids, and it’s important to understand the different varieties available. Freebase nicotine is the most common type of nicotine used in e-liquids. It provides a strong throat hit and is available in a range of strengths up to 20mg.
Nicotine salt is a newer form of nicotine that is becoming increasingly popular. It is smoother and less harsh than freebase nicotine, and it is absorbed more quickly by the body. Nicotine salt is available in higher strengths than freebase nicotine, making it a good choice for those with strong nicotine cravings.
When choosing a nicotine strength, it’s important to consider your individual needs and preferences. Smokers who are trying to quit may want to start with a higher nicotine strength and gradually reduce it over time, while those who are vaping for enjoyment may prefer a lower nicotine strength.
Overall, flavouring and nicotine are two key components of DIY vaping. By choosing high-quality flavour concentrates and understanding the different varieties of nicotine available, vapers can create their own unique and satisfying e-liquids.
Advanced Vaping Techniques
For those who have already mastered the basics of vaping, there are a variety of advanced techniques that can enhance the overall experience. Here are a few techniques to explore:
Exploring Different Inhalation Styles
There are three primary inhalation styles: mouth-to-lung (MTL), direct-to-lung (DTL), and restricted-direct-lung (RDL). Each style offers a unique experience and can be tailored to individual preferences.
- MTL: This technique involves taking a drag of vapour into the mouth and then inhaling it into the lungs. It is similar to smoking a cigarette and is ideal for those who are just starting with vaping or prefer a more subtle flavour.
- DTL: This technique involves inhaling vapour directly into the lungs, bypassing the mouth. It produces a more intense flavour and is ideal for those who prefer a stronger hit.
- RDL: This technique is a combination of MTL and DTL, with a slightly restricted airflow. It produces a flavourful hit and is ideal for those who enjoy a balance between flavour and vapour production.
Building and Wicking Coils
Coil building is the process of creating your own coils using wire, while wicking is the process of threading cotton through the coil. This technique allows for a more customised vaping experience, as you can adjust the resistance and airflow to your liking.
- Coil: The resistance of the coil affects the overall vaping experience, with lower resistance coils producing more vapour and higher resistance coils producing less vapour. It is important to choose the right type of wire for your coil, as different wires have different resistance levels.
- Wicking: Proper wicking is essential for a smooth vaping experience. It is important to use the right amount of cotton, as too little cotton can result in a burnt taste, while too much cotton can restrict airflow.
Vaping Device Customisation
Customising your vaping device can enhance the overall experience and make it more personalised. Here are a few ways to customise your device:
- Airflow: Adjusting the airflow can impact the flavour and vapour production. It is important to find the right balance for your individual preferences.
- Atomiser: Upgrading the atomiser can improve the overall flavour and vapour production. It is important to choose an atomiser that is compatible with your device.
- Resistance: Adjusting the resistance of the coil can enhance the overall vaping experience. It is important to choose the right type of wire and resistance level for your coil.
By exploring these advanced techniques, vapers can customise their experience and enjoy a more personalised vaping experience.
Maintenance and Troubleshooting
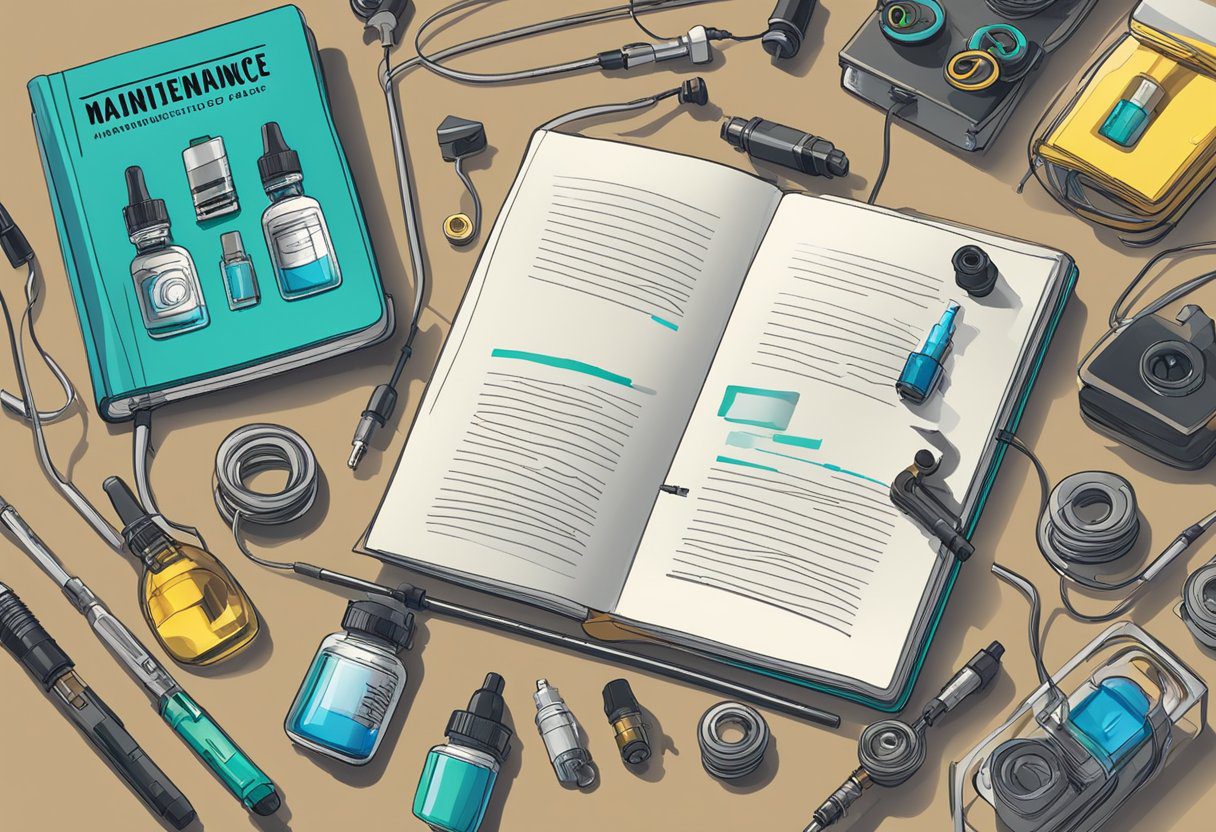
Cleaning and Maintenance
Proper cleaning and maintenance of your vape kit is essential to ensure optimal performance and longevity. Regular cleaning of the tank and coil can help prevent issues such as leaks and burnt hits. To clean the tank, disassemble the components and wash them in warm water. You can also use a mild detergent to remove any stubborn residue. Make sure to dry the tank thoroughly before reassembling it.
Cleaning the coil is also important to prevent a burnt taste. You can clean the coil by removing it from the tank and rinsing it under running water. Alternatively, you can soak the coil in vodka or distilled water for a few hours. Once it is dry, reassemble the tank and prime the coil before use.
Common Issues and Solutions
Even with proper maintenance, issues can still arise with your vape kit. Here are some common issues and solutions:
-
Leaking tank: If your tank is leaking, check that all the components are tightly screwed together. If this does not solve the issue, try replacing the o-rings or the coil.
-
Burnt taste: A burnt taste can be caused by a dry coil or insufficient e-liquid in the tank. Make sure to prime the coil before use and keep the tank topped up with e-liquid.
-
Battery life: Battery life can vary depending on usage and battery capacity. To prolong battery life, avoid overcharging and use the battery within its recommended voltage range.
-
Battery safety: It is important to handle batteries with care to prevent accidents. Always use the correct charger for your battery and avoid exposing it to extreme temperatures.
-
Mod issues: If your mod is not working, check that the battery is inserted correctly and that the settings are correct. If this does not solve the issue, try resetting the mod or contacting the manufacturer for support.
By following these maintenance and troubleshooting tips, you can ensure a smooth and enjoyable vaping experience.
Vaping Etiquette and Culture
Understanding Vaping Etiquette
Vaping etiquette is an important aspect of the vaping culture. It is important to understand and follow the rules of vaping etiquette to ensure that everyone has a pleasant experience. Some basic rules of vaping etiquette include:
- Always ask for permission before vaping in someone’s home or car.
- Do not vape in public places where smoking is prohibited.
- Be aware of your surroundings and the people around you. Some people may not appreciate the smell or sight of vapour, so it’s best to ask for permission or seek designated vaping areas when in public spaces.
- Do not blow vapour directly into someone’s face or towards children or pets.
- Do not leave your vaping devices lying around where children or pets can reach them.
It is also important to be respectful of other vapers. If you are new to vaping, do not be afraid to ask questions and learn from experienced vapers. Additionally, if you are an experienced vaper, be patient and supportive of beginners.
Community and Support
Vaping has a strong community and support system. There are many blogs and forums dedicated to vaping where people can share their experiences, ask questions, and get advice. These websites and forums can be a great resource for beginners who are looking to learn more about vaping.
In addition to online resources, there are also many offline resources for vapers. Many cities have vape shops where people can buy vaping supplies and get advice from experienced vapers. These shops can be a great place to meet other vapers and build a sense of community.
Overall, vaping etiquette and culture are important aspects of the vaping experience. By following the rules of vaping etiquette and being part of the vaping community, vapers can have a safe and enjoyable experience.





Leave a Reply