Dripping (Drip Vaping) Explained: A Comprehensive Guide
Drip vaping, also known as dripping, is a vaping technique that involves dripping e-liquid directly onto the coil of a rebuildable atomizer. This technique allows vapers to enjoy a more intense flavour and vapour production than traditional vaping methods. Drip vaping is a popular choice for experienced vapers who enjoy customising their vaping experience.
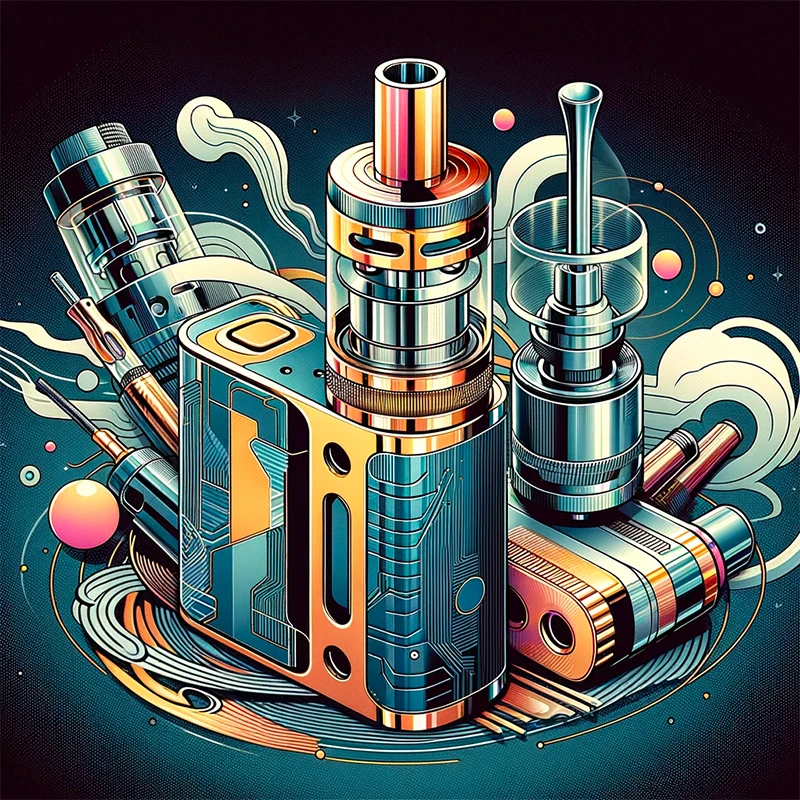
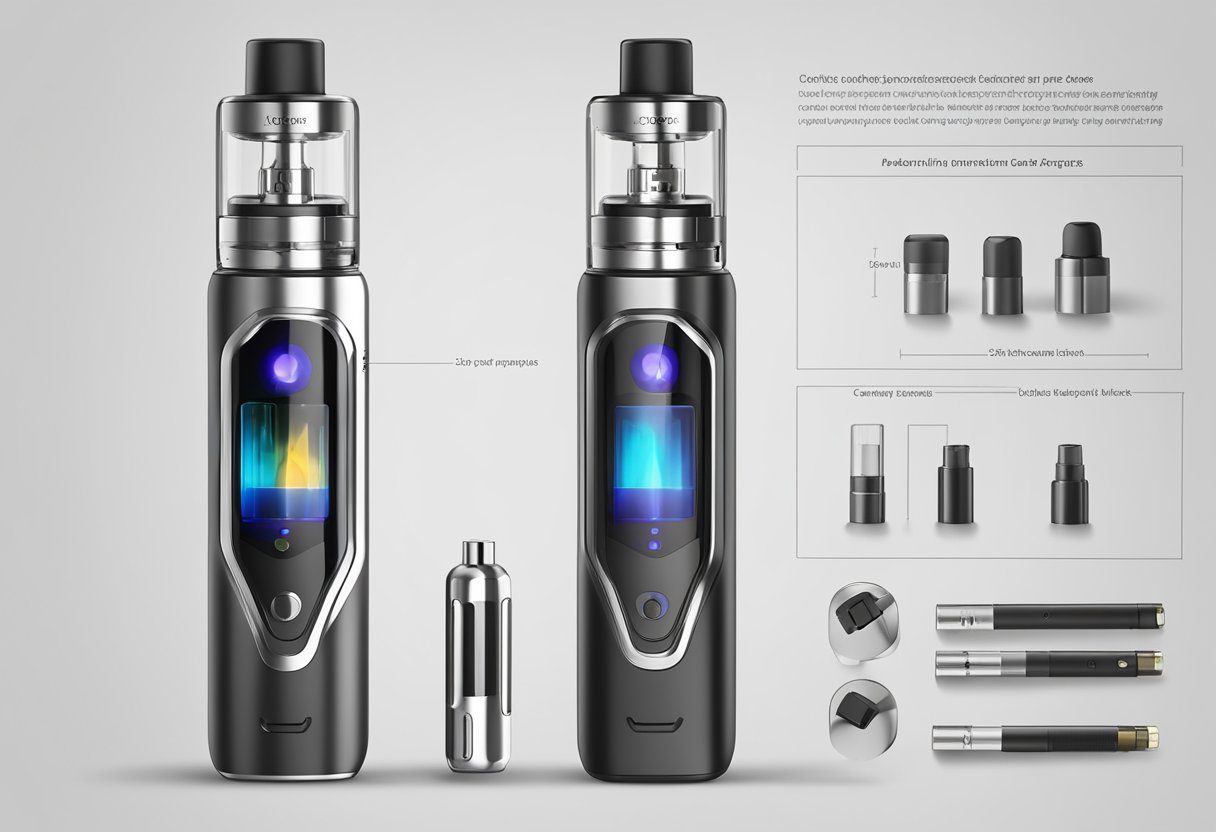
Understanding drip vaping requires an understanding of the components of a drip vaping setup. A drip vaping setup typically consists of a rebuildable atomizer, a drip tip, and a battery. The rebuildable atomizer is the most important component of a drip vaping setup because it allows the user to build their own coils and wicks, which can be customised to suit their individual preferences.
The drip vaping process involves dripping e-liquid directly onto the coil of the rebuildable atomizer. This technique requires a steady hand and some practice to master. Once the e-liquid has been dripped onto the coil, the user can take a puff and enjoy the intense flavour and vapour production that drip vaping provides.
Contents
- 1 Understanding Drip Vaping
- 2 Components of a Drip Vaping Setup
- 3 The Drip Vaping Process
- 4 Building and Maintenance
- 5 Customisation and Safety
- 6 Frequently Asked Questions:
- 6.1 How is dripping different from traditional vaping methods?
- 6.2 What advantages does drip vaping offer over other forms of vaping?
- 6.3 How often should one drip vape juice when using an RDA?
- 6.4 What are the steps involved in properly setting up a drip vaping system?
- 6.5 Can one use any type of vape juice for drip vaping, and are there preferred types?
- 6.6 What maintenance is required to keep a drip vape system in optimal condition?
Key Takeaways
- Drip vaping involves dripping e-liquid directly onto the coil of a rebuildable atomizer for a more intense flavour and vapour production.
- A drip vaping setup typically consists of a rebuildable atomizer, a drip tip, and a battery.
- The drip vaping process involves dripping e-liquid onto the coil of the rebuildable atomizer and taking a puff to enjoy the intense flavour and vapour production.
Understanding Drip Vaping
Drip vaping, also known as dripping, is a type of vaping that involves dripping e-liquid directly onto the coil of a rebuildable dripping atomizer (RDA) instead of using a traditional vape tank. This method of vaping allows for a more customized and intense flavour experience. In this section, we will explore the basics of drip vaping, the benefits it offers, and some of the challenges that come with it.
Basics of Drip Vaping
Dripping involves removing the top cap of an RDA and dripping e-liquid directly onto the coil. This process is usually done every few puffs to ensure the coil stays saturated with e-liquid. Drip vaping requires a suitable device, such as an RDA, that can handle high wattage levels and has a standard 510 connection for compatibility.
Benefits of Drip Vaping
One of the main benefits of drip vaping is the ability to customise the flavour experience. Dripping allows for a more intense flavour profile that can be adjusted by changing the type of e-liquid used or adjusting the coil and wick. Drip vaping also allows for a smoother and more consistent hit, as the coil is constantly saturated with e-liquid.
Challenges of Drip Vaping
Drip vaping requires more maintenance and attention than traditional vaping methods. Users must continuously drip e-liquid onto the coil to ensure it stays saturated, which can be time-consuming and inconvenient. Additionally, drip vaping can be messy, as excess e-liquid can leak out of the RDA if not properly managed.
Overall, drip vaping offers a unique and customisable vaping experience. However, it requires more attention and maintenance than traditional vaping methods. Users who are willing to put in the extra effort may find that drip vaping is a worthwhile experience.
Components of a Drip Vaping Setup
When it comes to drip vaping, there are several components that make up a complete setup. These include rebuildable dripping atomizers (RDAs), coils and wicking material, drip tips and mouthpieces, and vape mods and power.
Rebuildable Dripping Atomizers (RDAs)
RDAs are the heart of the drip vaping setup. These atomizers allow vapers to build and install their own coils, giving them complete control over the vaping experience. RDAs typically feature a deck where users can mount their coils, as well as posts for attaching the positive and negative leads. Some RDAs also feature adjustable airflow, which can be used to fine-tune the vaping experience.
Coils and Wicking Material
Coils and wicking material are two of the most important components of a drip vaping setup. Coils are typically made from wire, and come in a variety of materials, including kanthal, nickel, and titanium. The wire is wrapped around a jig to create a coil of the desired size and shape. Wicking material, typically cotton, is then threaded through the coil, providing a channel for the e-liquid to flow through.
Drip Tips and Mouthpieces
Drip tips and mouthpieces are the parts of the drip vaping setup that come into contact with the user’s mouth. These components are typically made from plastic, metal, or glass, and come in a variety of shapes and sizes. Some drip tips feature a wider bore, which can be used to produce larger clouds of vapour.
Vape Mods and Power
Vape mods and power are the final components of a drip vaping setup. Vape mods are the devices that house the batteries and provide power to the atomizer. These devices come in a variety of shapes and sizes, and can be regulated or unregulated. Regulated mods allow users to adjust the wattage and voltage output, while unregulated mods provide a direct connection between the battery and the atomizer. The power output of a vape mod is measured in watts, and can range from 5 watts to over 200 watts.
The Drip Vaping Process
Drip vaping is a technique that allows vapers to directly apply e-liquid onto the coil and wick of the atomizer. This method is different from using a traditional vape tank as it gives the vaper more control over the amount of e-liquid used and the flavour produced. Here is a breakdown of the drip vaping process:
Preparing the RDA
Before starting, the vaper must ensure that the rebuildable dripping atomizer (RDA) is set up correctly. This involves installing the coil and wick and checking that they are properly positioned. The vaper should also make sure that the RDA is clean and free from any debris that could affect the flavour produced.
Dripping Technique
Once the RDA is prepared, the vaper can begin the dripping process. The vaper should remove the top cap of the RDA and drip a few drops of e-liquid onto the coil and wick. The amount of e-liquid used will depend on the vaper’s preference, but it is important not to over-drip as this can lead to flooding and leakage.
Vaping and Inhaling
After the e-liquid has been dripped onto the coil and wick, the vaper can replace the top cap and begin vaping. The vaper should press the fire button on their device and inhale slowly. It is important to note that drip vaping produces more vapour than traditional vaping, so the vaper should be prepared for a stronger hit.
Overall, drip vaping is a technique that requires some practice to perfect, but it can provide a more intense flavour and a stronger hit. The vaper should take care to ensure that the RDA is set up correctly and that the dripping process is done carefully to avoid any issues with flooding or leakage.
Building and Maintenance
Coil Building Basics
Coil building is an essential aspect of drip vaping. It involves creating a coil out of resistance wire to heat up the e-liquid. Most drip vapers prefer to build their own coils, but there is also an option to buy pre-built coils. The resistance of the coil will dictate the intensity of the vapour produced.
When building coils, it is important to understand the ohm’s law and how it affects the resistance of the coil. The diameter and number of wraps of the coil also affect the resistance. A smaller diameter will result in a higher resistance, while a larger diameter will result in a lower resistance.
Wicking for Optimal Performance
Wicking is the process of supplying the coil with e-liquid. Organic cotton is the most commonly used wicking material in drip vaping. It is important to ensure that the cotton is not too tight or too loose in the coil. A tight wick will restrict the flow of e-liquid, while a loose wick will result in flooding.
To wick a coil, cut a strip of organic cotton and roll it into a cylinder shape. Insert the cotton through the coil and trim the ends. Ensure that the cotton is in contact with the coil but not too tight.
Cleaning and Upkeep
Maintaining and cleaning your drip vaping setup is crucial for optimal performance. Over time, residue from e-liquids can build up on the coil and affect the flavour and vapour production.
To clean the coil, remove the wick and dry burn the coil until it turns red. This will burn off any residue on the coil. Allow the coil to cool down and then rewick it. It is recommended to clean the coil every two to three days.
In conclusion, building and maintaining your drip vaping setup is essential for optimal performance. Understanding the basics of coil building and wicking will result in a better vaping experience. Regular cleaning and upkeep will ensure that your setup performs at its best.
Customisation and Safety
Drip vaping allows for greater customisation of the vaping experience, but it is important to ensure that safety is not compromised. This section will cover some key considerations when customising your drip vaping setup.
Choosing the Right Components
When choosing components for your drip vaping setup, it is important to consider the compatibility of the atomizer, coils, and power settings. The atomizer should be compatible with the type of coils you plan to use, and the coils should be able to handle the power settings you intend to use. It is also important to choose high-quality components from reputable manufacturers to ensure safety and performance.
Understanding Resistance and Wattage
Resistance and wattage are important factors to consider when customising your drip vaping setup. The resistance of the vape coil affects the amount of power needed to heat it, and the wattage determines how much power is delivered to the coil. It is important to choose coils with a resistance that is compatible with your power settings, and to adjust the wattage accordingly to achieve the desired vaping experience.
Safety Precautions
Safety should always be a top priority when customising your drip vaping setup. It is important to ensure that your components are compatible and properly installed, and that you are using high-quality batteries that are suitable for the power requirements of your setup. It is also important to follow proper battery safety guidelines, such as not overcharging or overheating your batteries, and to avoid using damaged or worn components.
In summary, customisation is a key aspect of drip vaping, but it is important to ensure that safety is not compromised. By choosing the right components, understanding resistance and wattage, and following proper safety precautions, you can customise your drip vaping setup to achieve the desired vaping experience while maintaining safety and performance.


Leave a Reply